
This past weekend saw some of the most stunning weather we’ve had all month! Mid 60s and sunny, with barely a cloud in the sky. It gave us the perfect opportunity to get out to the garden and plant next year’s garlic.
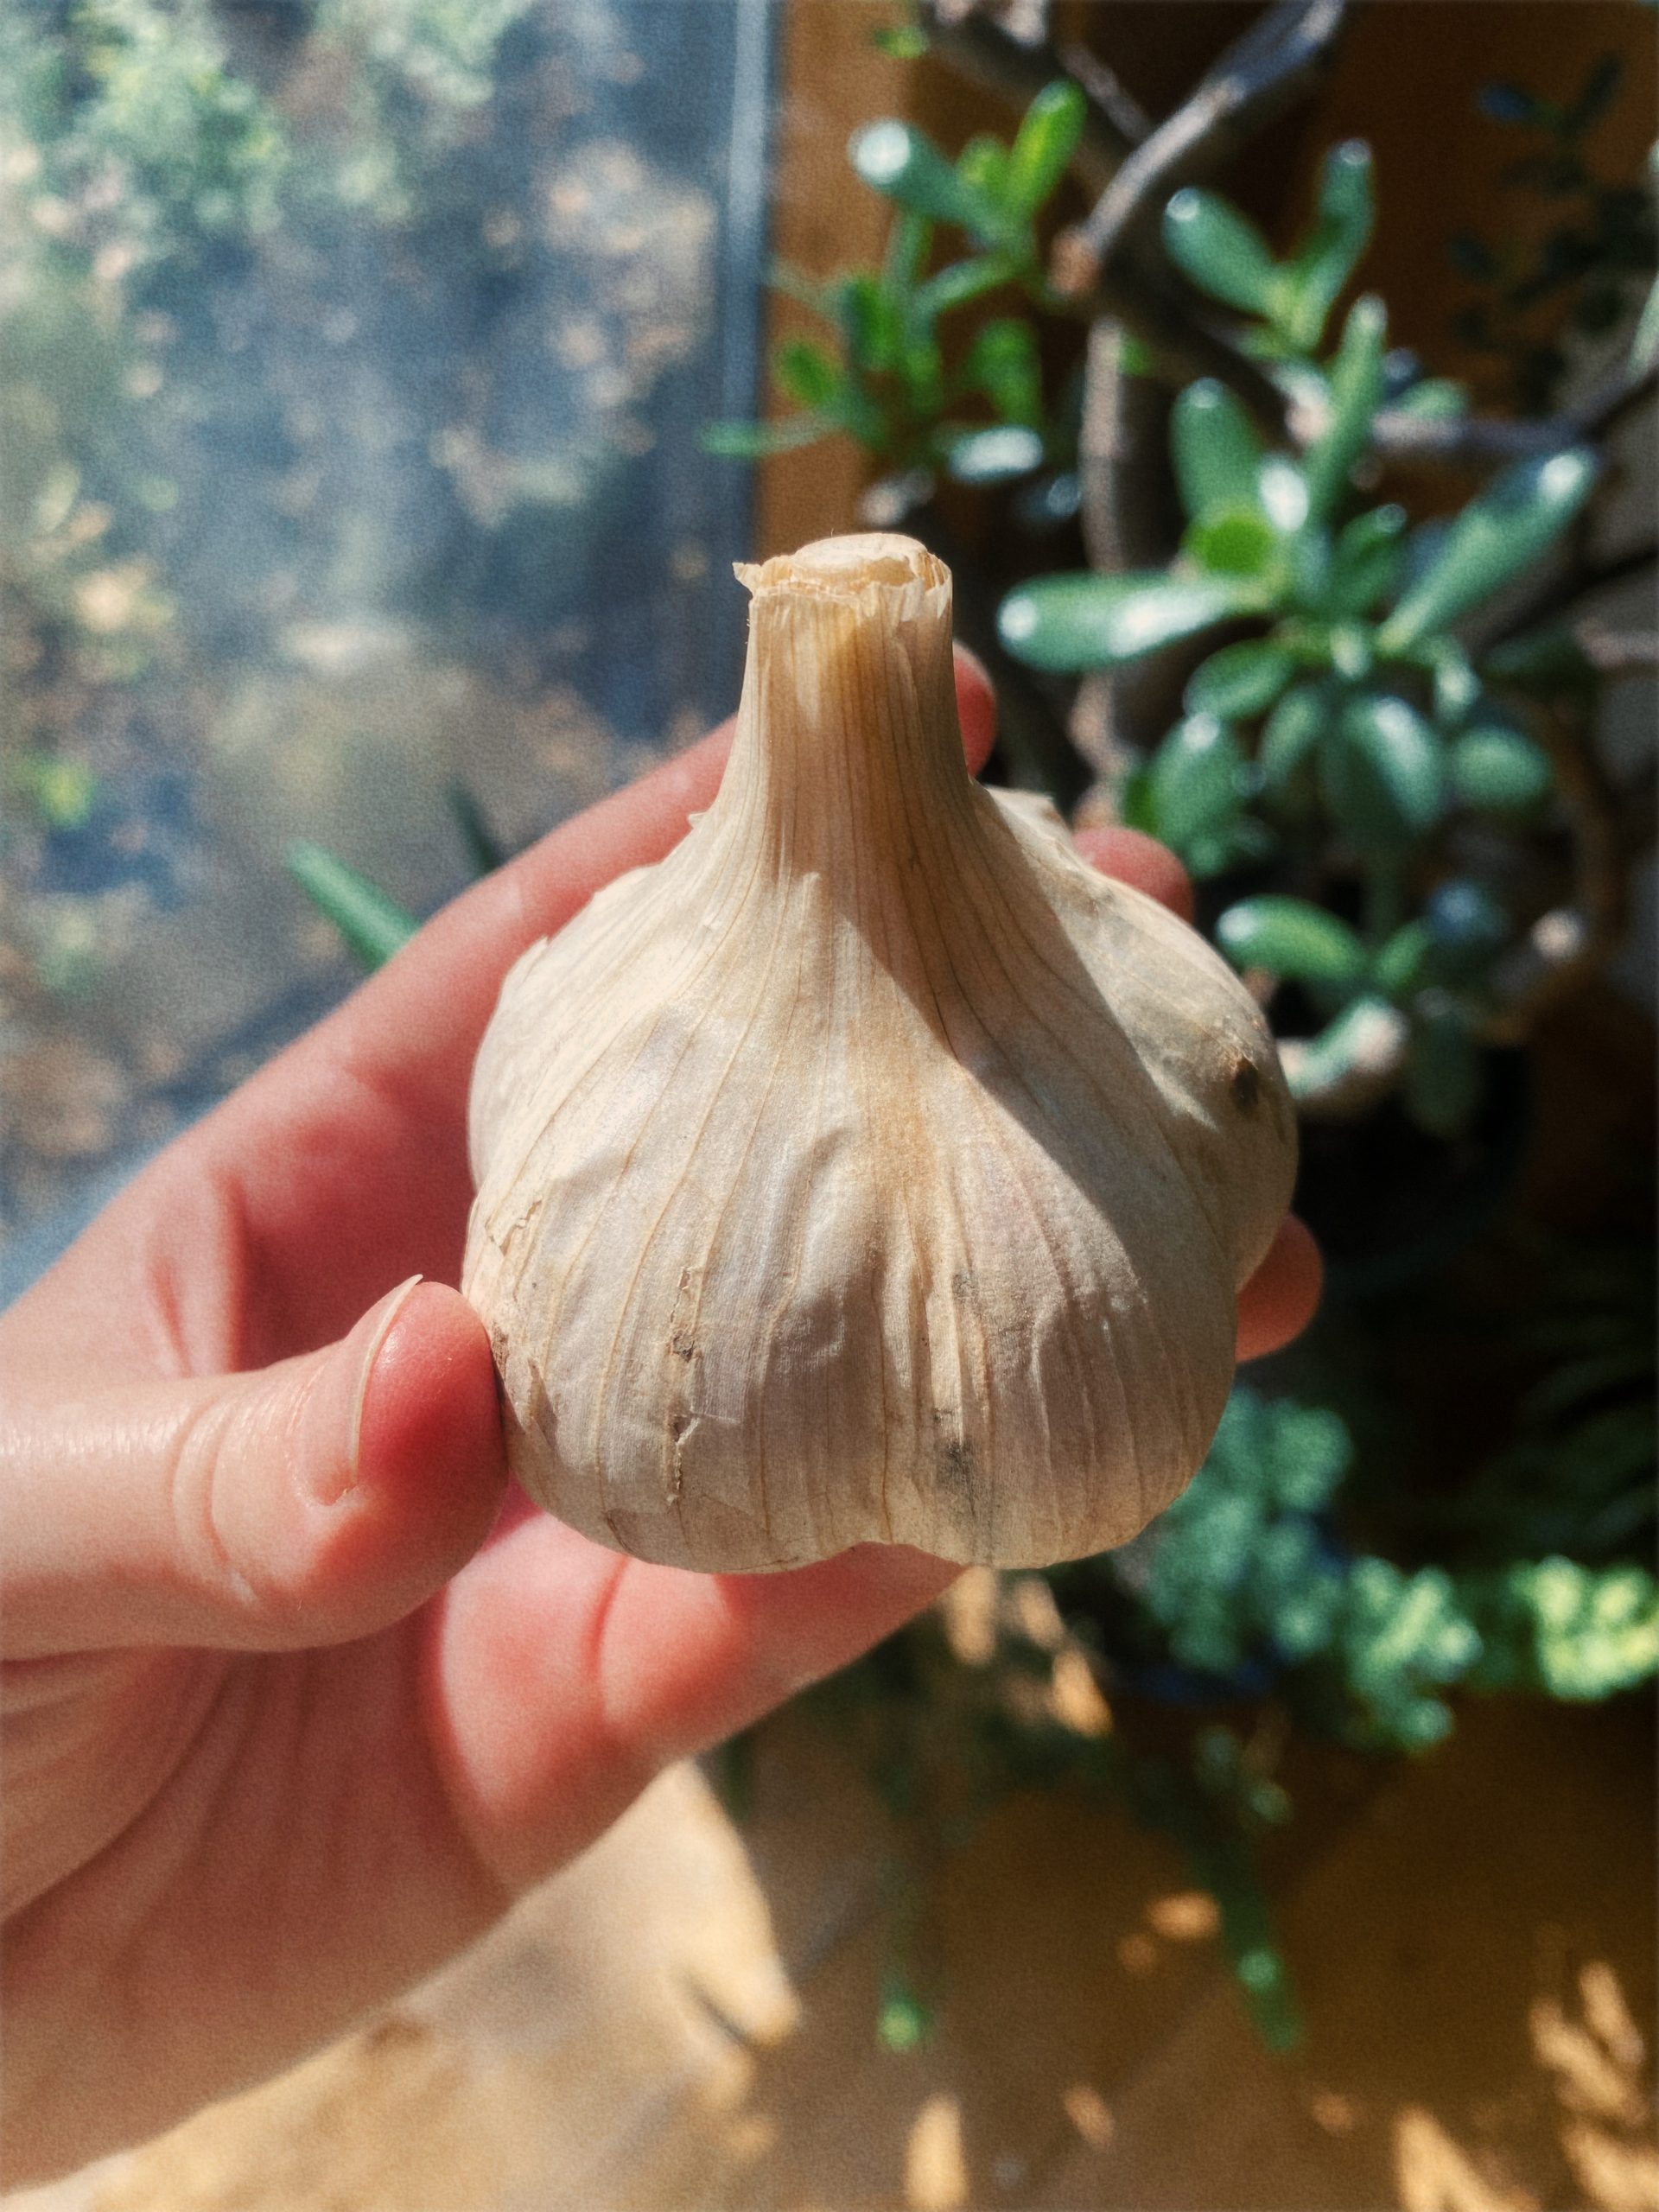
Garlic is so easy and satisfying to grow. We planted a whole row this year (which yielded around 600 bulbs in total) to have lots on hand for our own cooking, plus retreat catering and gifting! Our garlic is a hardneck variety that’s been grown here for over two decades. Nobody remembers the exact cultivar’s name anymore — we just call it Sky Meadow garlic now. 🙂 Here’s our own method for how to plant garlic.
How to Plant Garlic
- Prep your planting area. Garlic does best in loose, loamy soil that is rich in nutrients.* Loosen up your dirt with a rake or tiller and remove any large stones in the way. You’ll want to avoid planting it in heavily compacted or clay soil areas.
- Prepare your seed by separating the cloves from each head of garlic, leaving their skin intact. Set aside the largest ones for planting. Remove any that are super tiny and reserve for cooking, or dispose of any that have obvious bad spots.
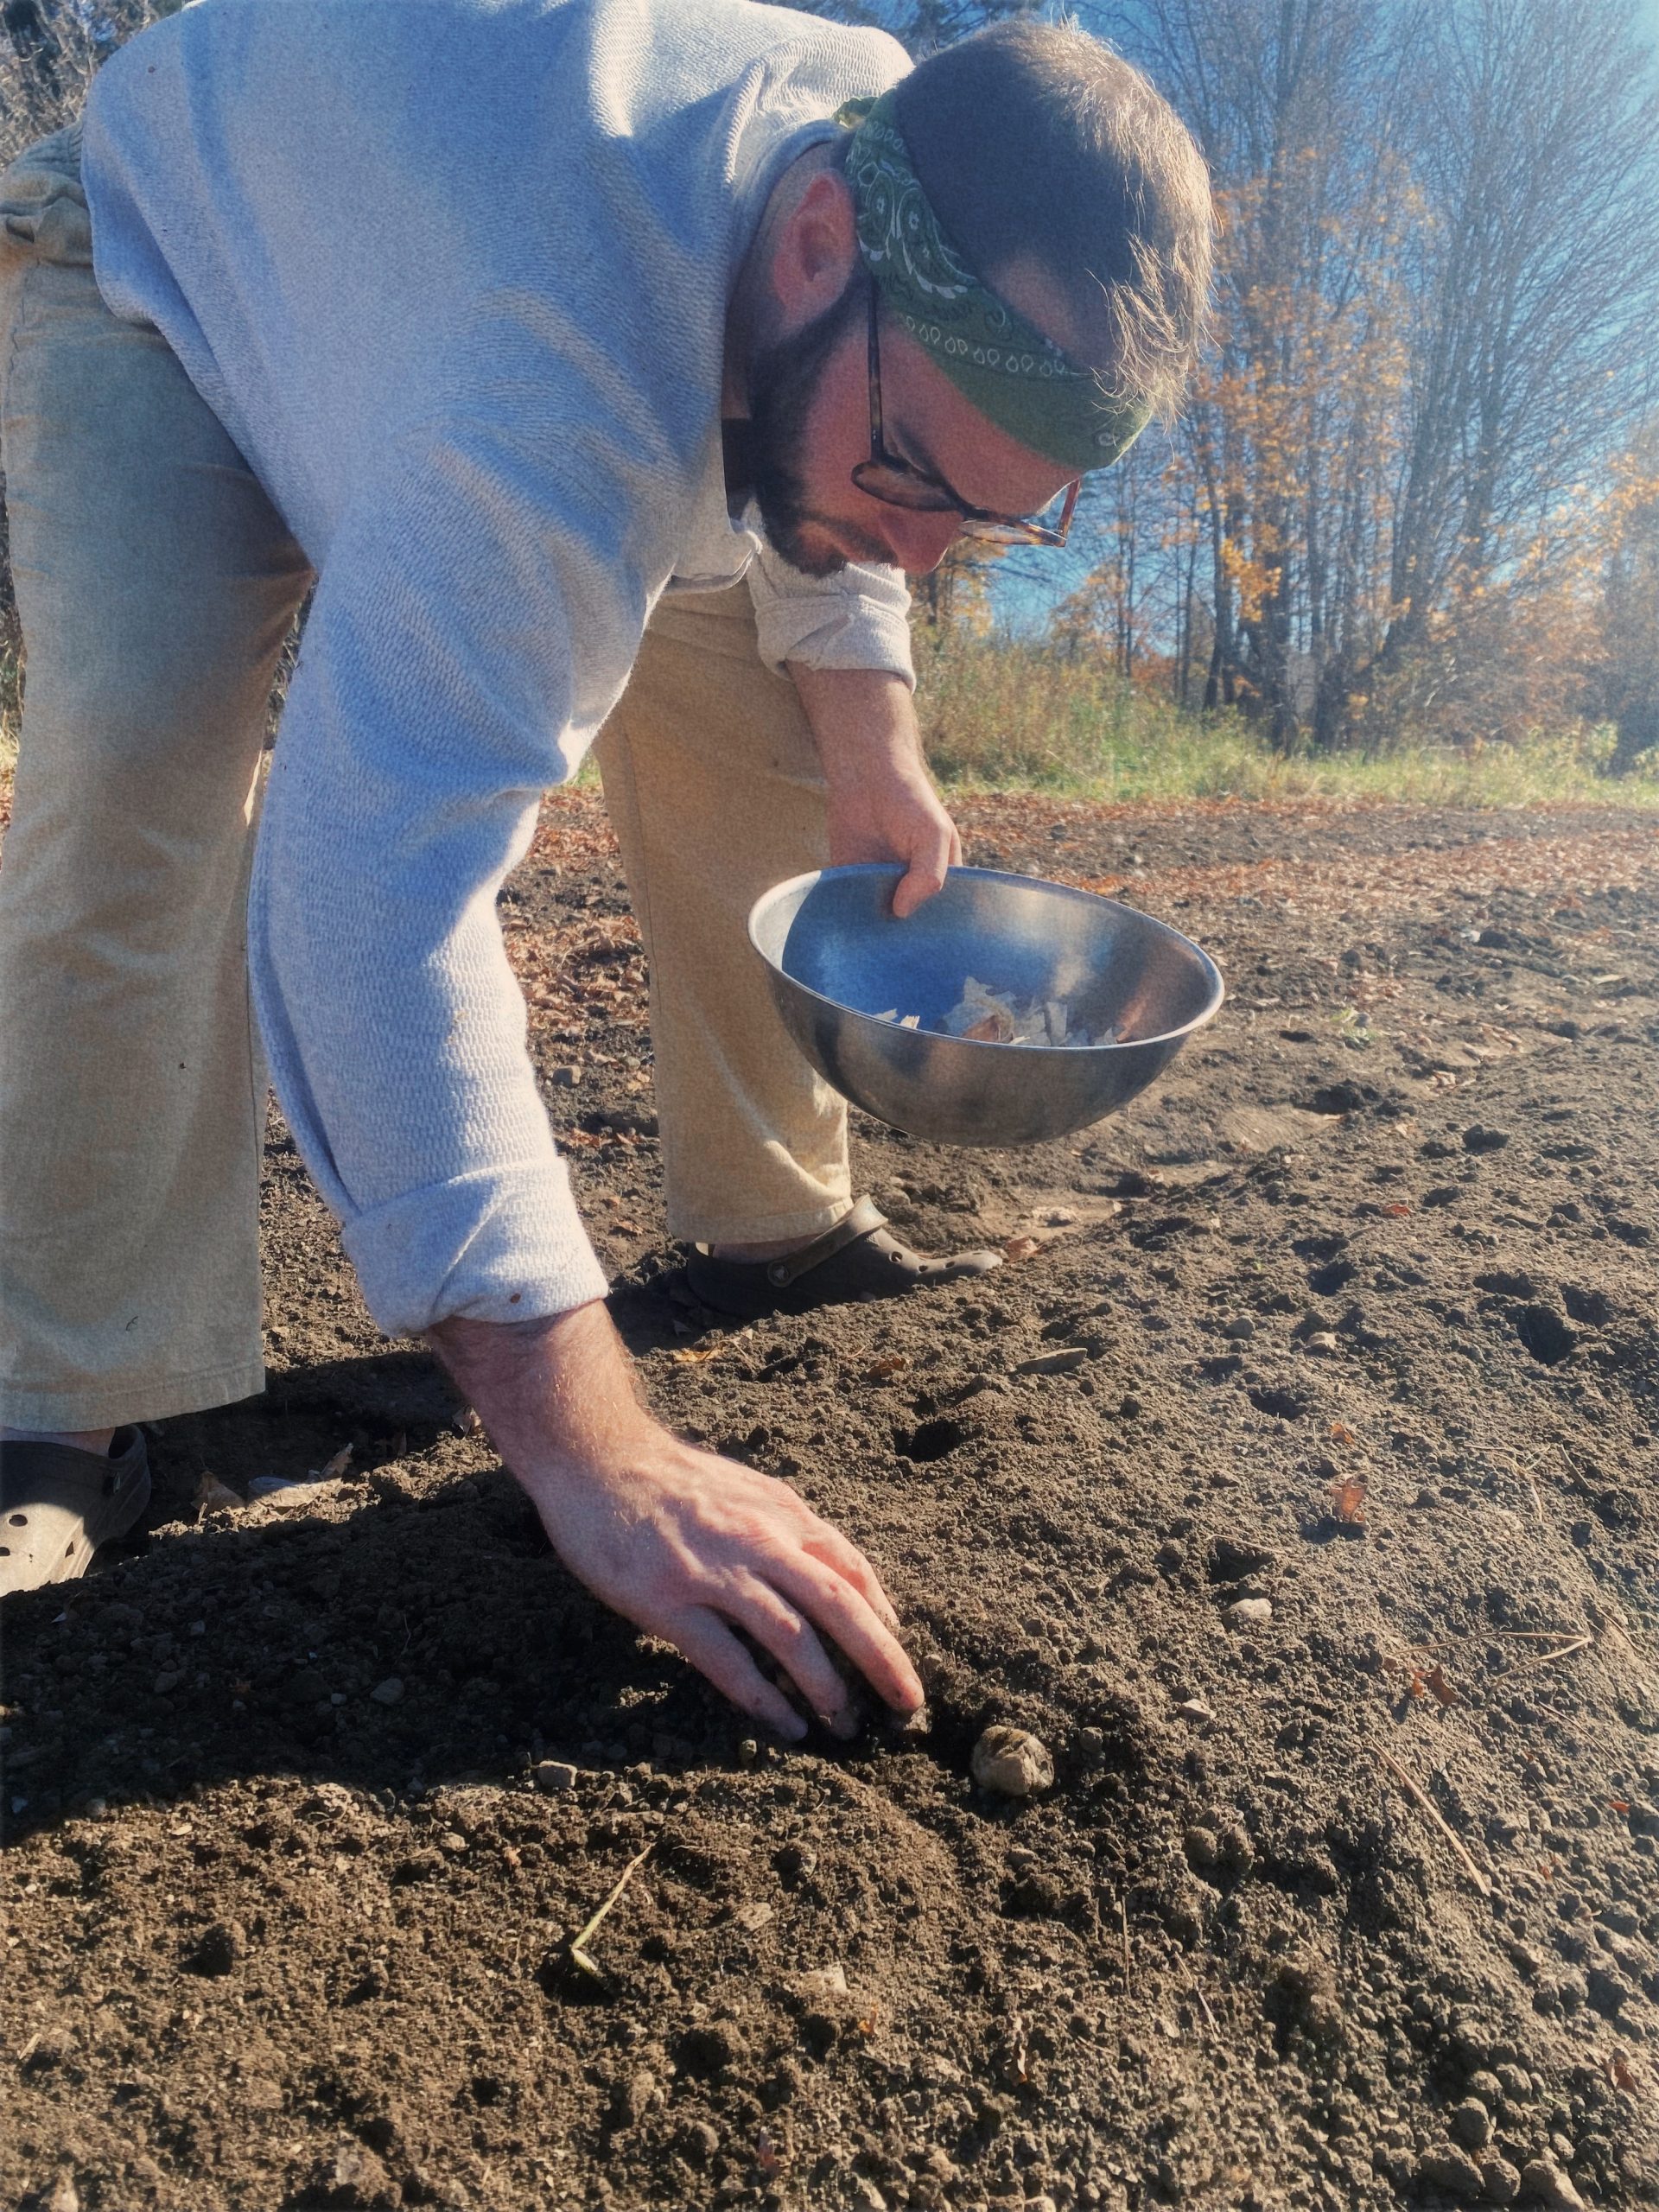
- Plant each clove root side down, spaced around 6-8″ apart. Cover them in 1-2″ inches of soil and pat down gently as you go.
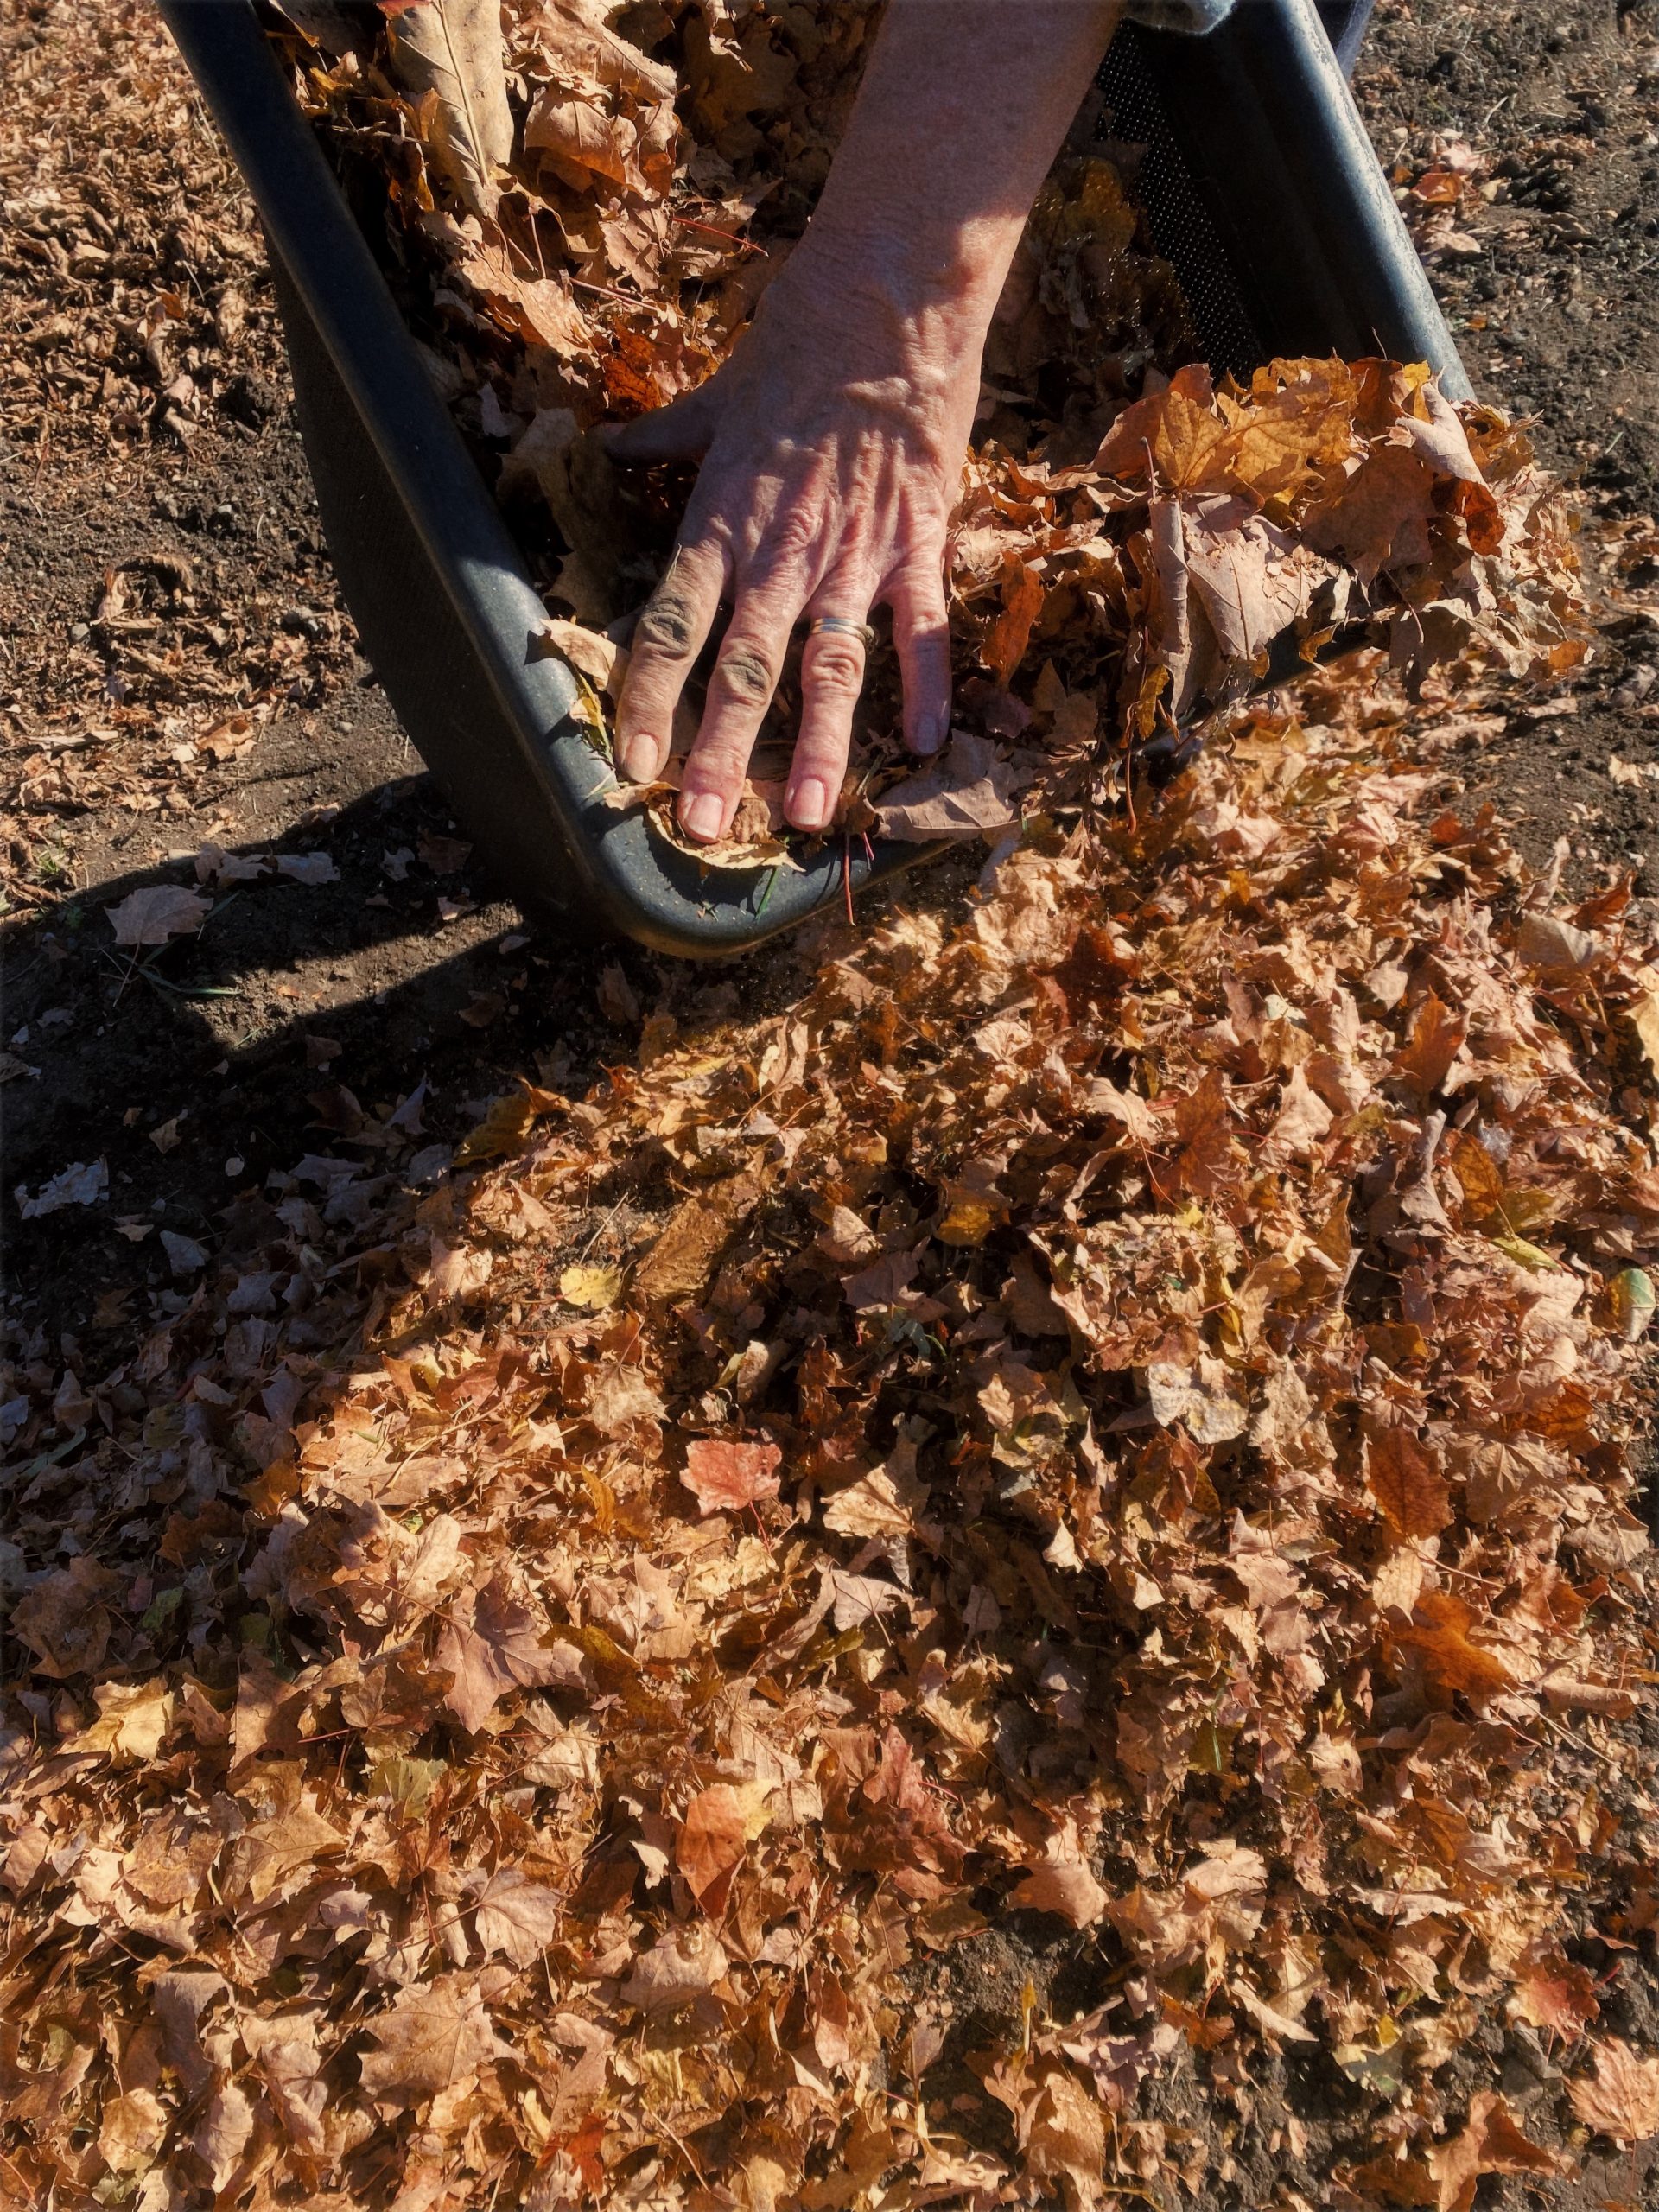
- Mulch the planted garlic generously with fallen leaves and compost. If you’re in a warmer zone, you may be able to skip this step entirely. Here in zone 3b, though, we definitely like to give it a good layer of insulation for the winter, as it can get down to -30 degrees Fahrenheit at times!
- That’s it! Your garlic will remain dormant throughout the winter and start emerging in spring. Other than keeping the biggest weeds at bay, it needs little maintenance. You might like to add a little more compost or comfrey leaf fertilizer periodically throughout the growing season to keep your soil rich and nutrient-dense.
* Soil health is quite a broad topic that goes well beyond the scope of this article. Learn what you can about your environment and do whatever improvements feel necessary and doable to you. But if you’re anything like us, you’ll get the most enjoyment out of gardening when you embrace it as an experimental, hands-on process. Learning the unique characteristics of your growing area is a journey, not a destination! Resist the urge to learn everything overnight or try to do everything “perfectly” the first time. Less-than-perfect soil need not stop you from just going for it! 🙂
How to Harvest Your Garlic
Garlic is an easy, efficient crop to grow and requires little maintenance. Even better, it also provides you with two yields — first with the garlic “scapes,” and then the finished bulbs about a month later.
Garlic scapes are the central flowering stalk that emerges from each head of garlic in midsummer. You want to cut these off so that the plant concentrates its energy on growing a stronger bulb rather than a long flowering stalk. Garlic scapes grow in a distinctive “curly cue” shape where they loop back on themselves as they get longer. Harvest the garlic scapes once they have made one loop but before they make two — if left for too long, they can get tough!
As for how to use your scapes, they are a wonderful ingredient to blitz with basil into a lovely pesto. They pickle and ferment beautifully as well. Or, you can simply dice them into bite-sized pieces to sauté and enjoy as a flavorful side! They have a similar texture to green beans when cooked, with a mild garlic flavor that is not overpowering at all.
Garlic bulbs should be harvested on a dry day once the plants begin to die back. It can be a little tricky to get the timing just right. One method is to watch for when the lowest 3 pairs of leaves have turned brown on most of your garlic plants. (Look closely, as sometimes those bottommost pairs of leaves will fall off). Sometimes the best way to know for sure is just to pull a few and check! If left in the ground too long, the cloves can begin to split apart on the head. They are still usable, but will not keep as long as compact heads of garlic with the outer skin intact.
How to Cure Your Garlic
You can start using your freshly harvested garlic right away, but curing it after harvesting is important to help it stay fresh in storage. This process also helps to mellow the flavor.
We like to lay them out in a single layer on a tarp in the grass, and then leave them in the sun for 2-3 days. (Be sure to bring them in if it rains so that they don’t get wet!) Then, we bundle them together by the stalks in groups of 6-8 each, making sure they’re bundled in such a way that air can circulate around each bulb. Hang these bundles in a warm, dry place for about 6-8 weeks. Then, cut the bulbs off of the stalks and store in a cool, dry place until use. (Pro tip — the dried-out stalks make great kindling for campfires and woodstoves! In a way, it’s like a third crop.)
That’s it! We hope this was a useful guide to help you start your own garlic growing journey and wish you the best of luck. If you try any of the tips in this article, be sure to let us know how they turned out!
Are you looking for a special place close to the land where you can celebrate a special event or plan your dream retreat? Reach out to us today! Sky Meadow Retreat has been cultivating space to retreat, renew and rediscover tranquility in nature for over twenty years. We’d love the opportunity to host you soon!